We are building the Internet of Things
Crankk is a global DePIN network of LoRaWAN gateways that provide connectivity for IoT devices across the world. Join as a gateway operator, power the future of IoT and start earning Crankk tokens today.
Crankk is a global DePIN network of LoRaWAN gateways that provide connectivity for IoT devices across the world. Join as a gateway operator, power the future of IoT and start earning Crankk tokens today.
Trusted Partners


Power Crankk network and earn
Join as a gateway operator, expand network coverage and start earning Crankk tokens.
Use Crankk network and earn
Connect your IoT devices or sensors and get rewarded for utilising the network.
Crankk aims to democratise IoT by empowering anyone to become an active participant in a truly distributed, global network. Together we are building an open, decentralised network of thousands of interconnected gateways that enable seamless, efficient and secure IoT (sensor) data transmission from anywhere in the world at any given time. Our mission is to build an infinitely scalable, transparent and robust network, making IoT technology accessible to everyone.

As a gateway Operator, you will earn Crankk tokens based on your participation in the network. Our unique tokenomics allocate 80% of tokens to operators like you.

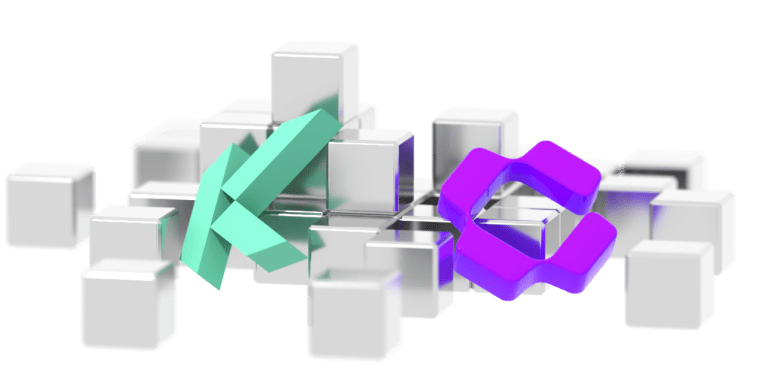
Kadena is a robust blockchain platform known for its low gas fees, unmatched security and true scalability. Utilising the Kadena blockchain allows Crankk to run its decentralised network while minimising transaction costs and ensuring network reliability for both gateway operators and consumers.

Crankk is a truly decentralised network anyone can join. Thousands of gateways deployed all over the world operate entirely on the Kadena blockchain infrastructure, ensuring a fair and fully transparent ecosystem.

Getting started with Crankk is easy. Simply follow our easy step-by-step tutorials to learn how to connect your IoT devices (sensors) to utilise the network or help expand network coverage by installing Crankk OS (Operating System) to your gateways to start providing coverage for sensors and start earning tokens right away.

Crankk Token Distributed
Gateways Online
Multimining projects
Proof of Coverage checks
Crankk OS users
Community members